Paving Stone Driveway: How to Install & Guide
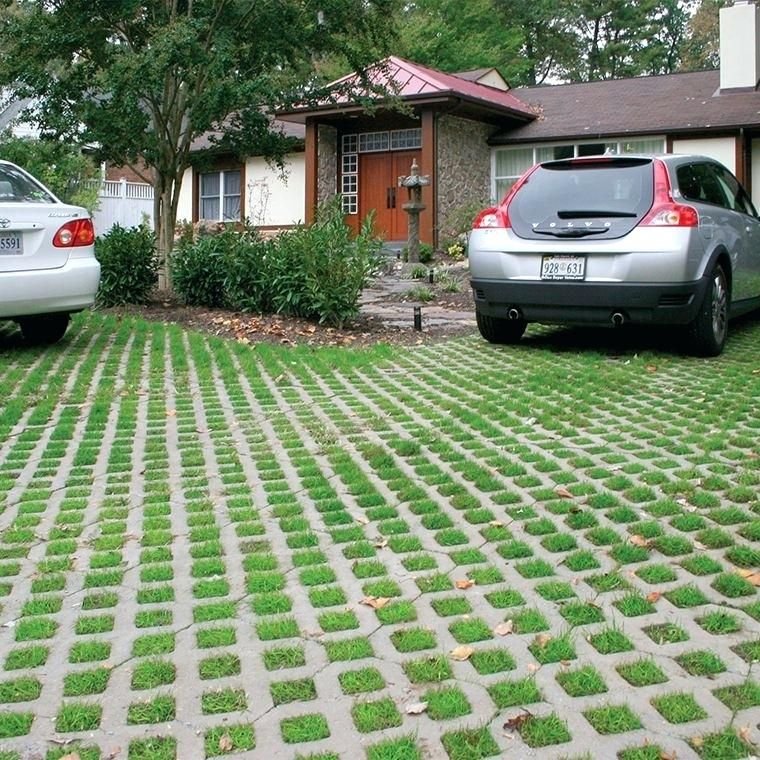
Are you thinking about giving your driveway a makeover that not only enhances its appearance but also increases your property’s value? A paving stone driveway might be the perfect solution! Known for its durability, aesthetic appeal, and low maintenance, installing a paving stone driveway is an investment that pays off in the long run. Plus, with eco-friendly options available, you can reduce water runoff and support sustainability.
In this guide, we’ll walk you through the step-by-step process of installing a paving stone driveway. Whether you’re planning a DIY project or hiring a professional, understanding the process is essential to ensuring a beautiful, functional result.
Choosing the Right Paving Stones
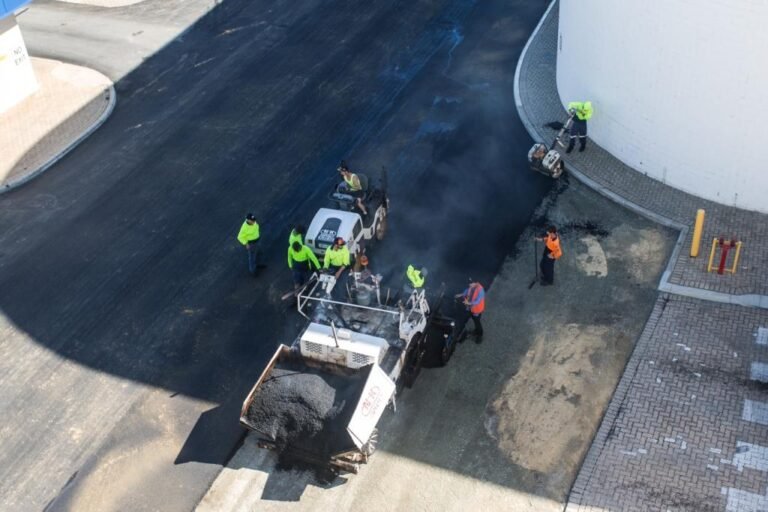
When selecting paving stones for your driveway, it’s essential to consider durability, style, and your long-term needs. While paving stones offer a beautiful and customizable solution, asphalt driveways are another popular option known for their durability and lower cost. Asphalt paving is often chosen for larger driveways due to its quick installation and ability to handle heavy traffic.
Comparing the two, asphalt may be less expensive upfront, but paving stones typically last longer and offer more visual appeal. Additionally, paving stones can be easily repaired by replacing individual stones, whereas asphalt requires larger sections to be patched.
Preparing the Site
Before you start excavating, make sure to clear the area of any debris and check for underground utilities. Performing a soil percolation test is also important. This test determines how well the soil drains, which will affect the depth of the base material required. Proper drainage is critical for avoiding water accumulation and extending the life of your paving stone driveway.
Excavation and Soil Preparation
Excavation is one of the most important steps in ensuring a strong foundation. For most driveways, you’ll need to excavate at least 12–15 inches deep, depending on your region’s frost line and the type of paver you’re using. After excavation, compact the soil using a plate compactor to create a stable base. A solid foundation prevents shifting and settling over time.
Installing the Base Material
Once the soil is prepared, install the base layer. Typically, a 6-inch layer of crushed stone is used, followed by a 4-inch layer of finer material, such as sand or gravel. Each layer should be compacted separately to ensure a stable foundation. Using a level will help maintain an even surface, which is crucial for the final look of the driveway.
Setting Up Edge Restraints
Edge restraints are vital to keep the paving stones in place and prevent them from shifting. You can use plastic, metal, or wooden restraints, depending on your preference. Secure the restraints with stakes, ensuring they are straight and level.
Laying the Sand Layer
After the base is compacted, spread a 1-2 inch layer of coarse sand evenly across the surface. Use a screed to level the sand, as this will be the bedding layer for the pavers. Ensure the sand is smooth and even to avoid any dips or uneven areas in the final installation.
Placing the Pavers
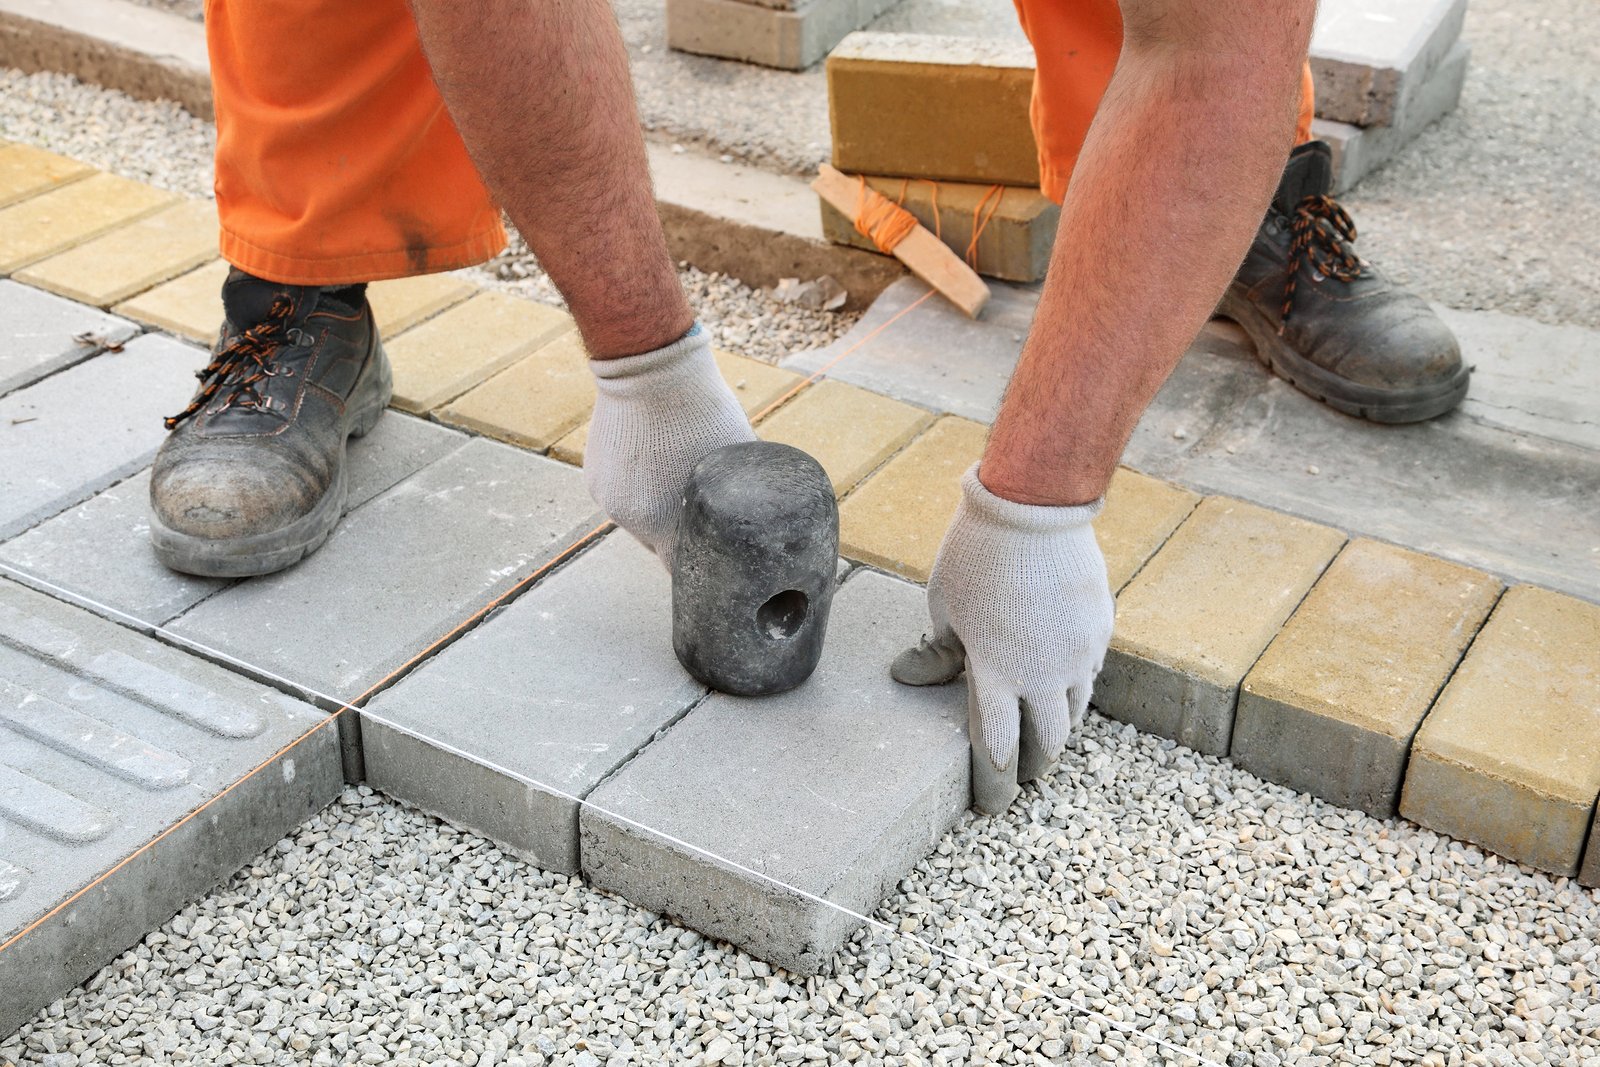
Now comes the exciting part – laying the paving stones! Start from one corner and work your way across the driveway, placing each paver snugly against the others. It’s essential to maintain a consistent pattern, whether you choose herringbone, running bond, or another design. Use a mallet to gently tap the pavers into place and ensure they are level.
Filling Joints and Compacting
Once all the pavers are laid, use a broom to sweep fine sand into the joints between the stones. This helps lock them in place and provides stability. After filling the joints, use a plate compactor to firmly settle the pavers into the bedding layer. You may need to add more sand and repeat the compaction process to ensure a solid installation.
Sealing and Maintenance
To protect your paving stone driveway and enhance its longevity, apply a sealant. Sealing helps prevent stains, weather damage, and the growth of weeds between the stones. It’s recommended to reseal the driveway every 3-5 years to maintain its appearance and durability.
Troubleshooting Common Issues
Some common issues with paving stone driveways include shifting, cracking, or uneven surfaces. These problems are often caused by improper base installation or poor drainage. Regular maintenance, including cleaning and resealing, can help prevent these issues.
DIY vs. Professional Installation
While DIY installation can save money, it requires time, effort, and the right tools. For larger or more complex driveways, hiring a professional can ensure high-quality results. Professionals have the experience and equipment to install the pavers correctly, which can prevent costly repairs in the future.
Cost Breakdown and Budgeting
The cost of installing a paving stone driveway depends on various factors, including the material, labor, and additional features such as edging or drainage systems. Typically, materials account for about 33% of the total cost, while labor accounts for another 33%. It’s important to factor in additional costs, such as site preparation and debris removal, to stay within your budget.
Frequently Asked Questions
What is the difference between a paving stone and an asphalt driveway?
Paving stones offer a more decorative and customizable option, while asphalt driveways are cost-effective and quick to install but may require more maintenance over time.
Do pavers need concrete underneath?
Pavers can be installed without concrete if the base is properly prepared with crushed stone and sand.
How do you prepare the ground for driveway pavers?
Clear debris, level the ground, and compact it before installing the base material.
Can you lay pavers directly on dirt?
No, it’s essential to have a properly compacted base to ensure stability and prevent shifting.
Summary
Installing a paving stone driveway is an excellent way to enhance your home’s curb appeal while providing a durable, functional surface. From selecting the right pavers to maintaining them over the years, every step is essential for ensuring a long-lasting, beautiful driveway.
Whether you choose to tackle this project yourself or hire professionals, the result will be a driveway that is both visually appealing and built to withstand the test of time.


